Technical Quality
Tips and tricks for improving the technical quality of your videos!
The technical quality of a video is composed mainly of 4 aspects:
- 📸 Camera Settings and Angles
- 💡 Lighting
- 🎶 Audio
- 🟦 Background / Scenario
In this article, we’re going to break down each of these aspects, and understand how we can produce content with a good technical quality.
📸 Camera Settings and Angles
You don’t need a fancy, high-tech camera to create amazing content, all you need is a nice phone with a good camera.
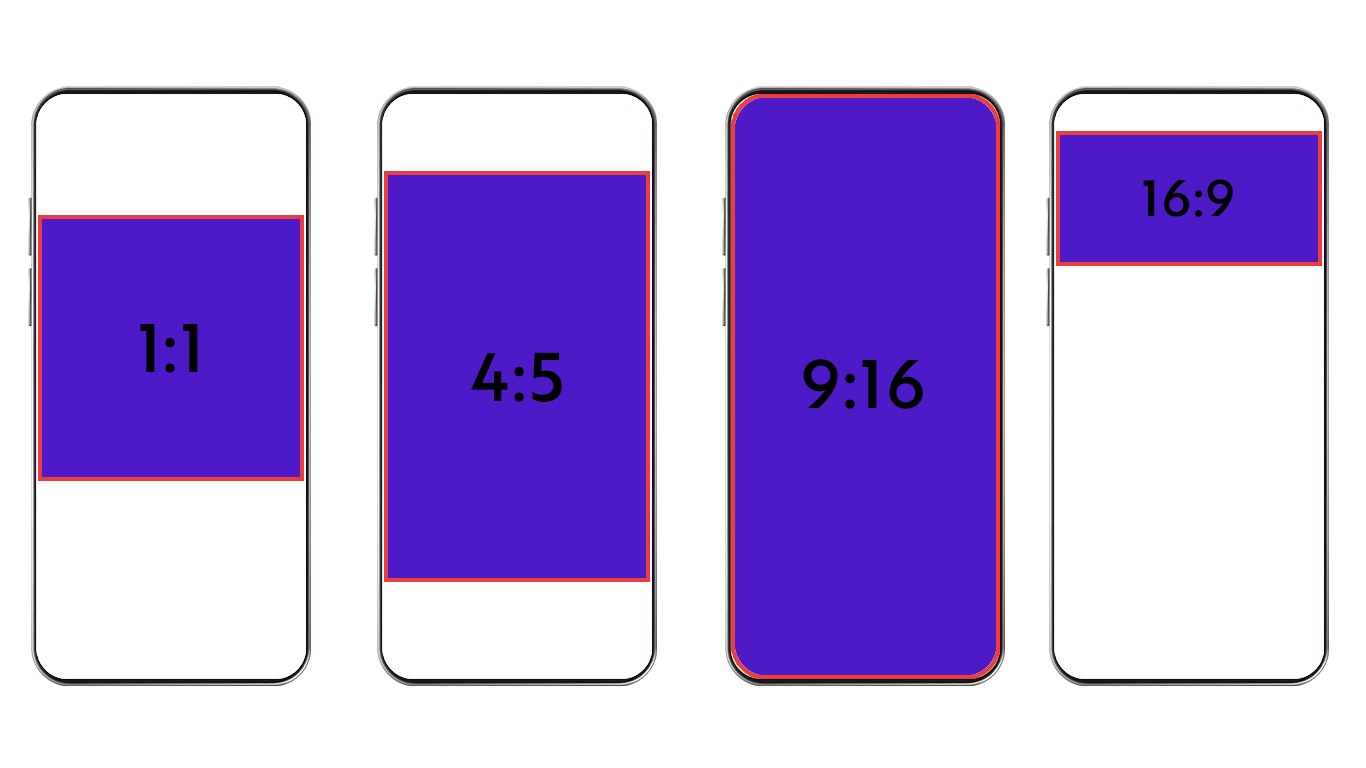
When it comes to settings, it’s crucial to pay attention to the video format and the “aspect ratio” the brand is asking for in the campaign, and adjust your phone settings accordingly.
The aspect ratio is basically the shape of your video. Some of the most common settings for social media are: 1:1, 9:16 and 16:9. Always remember to double-check what the brand is asking for, before start recording.

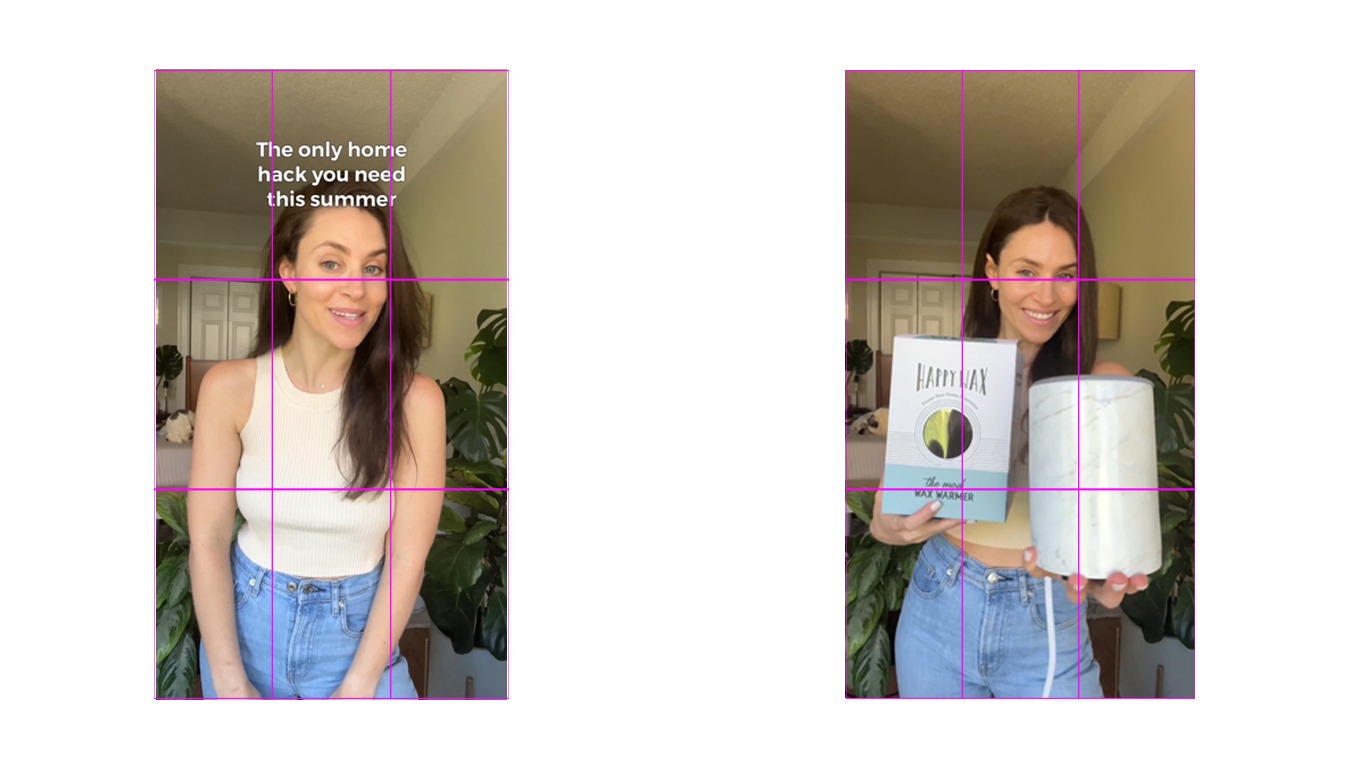
Now, talking about camera angles. When recording yourself, make sure that you position yourself in the center of the video, but also leave some room above your head and around your arms, so you can move freely, and the audience can see your body language.

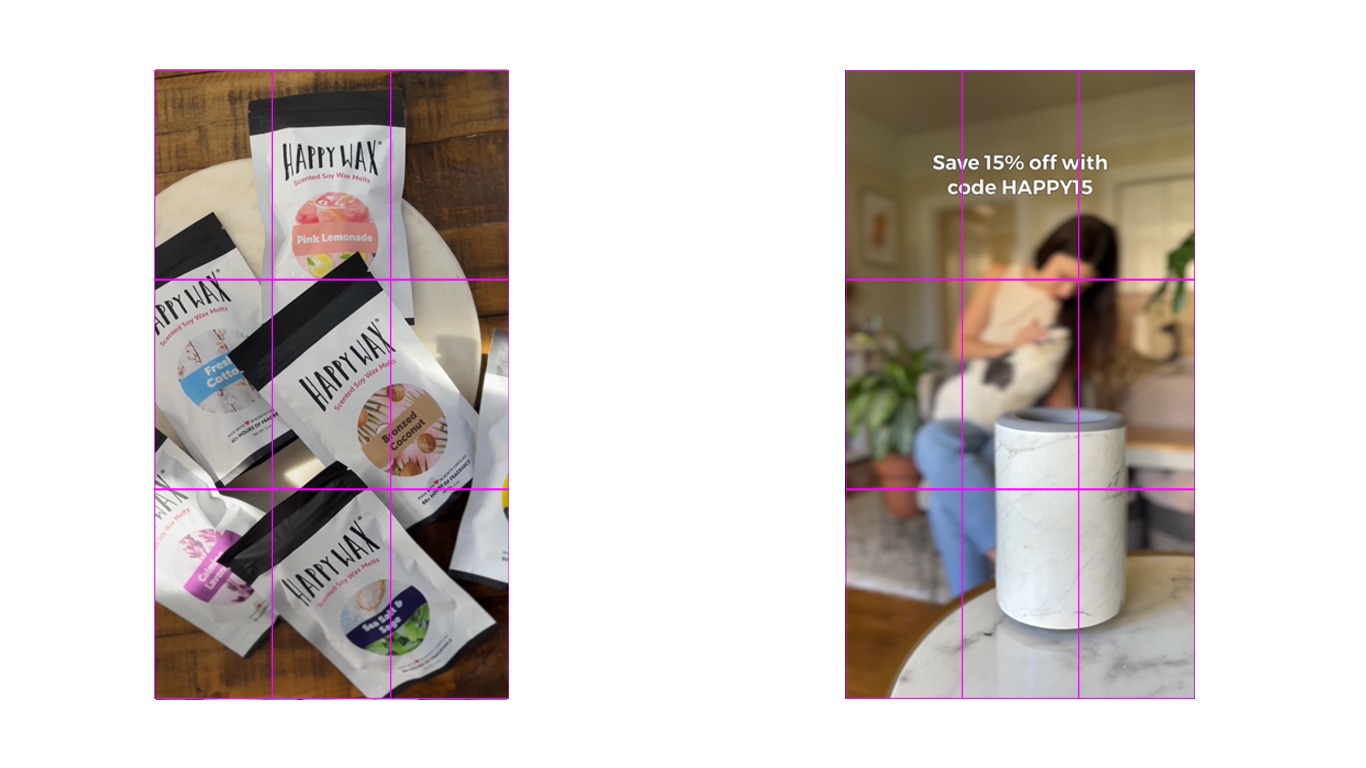
When filming a product, you can be creative with the way you show it on camera, but always pay close attention to the focus and framing. You don’t want the product to be blurry, out of focus or poorly placed on screen. Experiment with different angles, position and distances, let your creativity shine.

Example:
💡 Lighting
By far one of the most important aspects to have in mind when recording a video or taking a photo. Lighting a scene can be tricky sometimes, but there are some ground rules and tips that we can follow to nail it down.
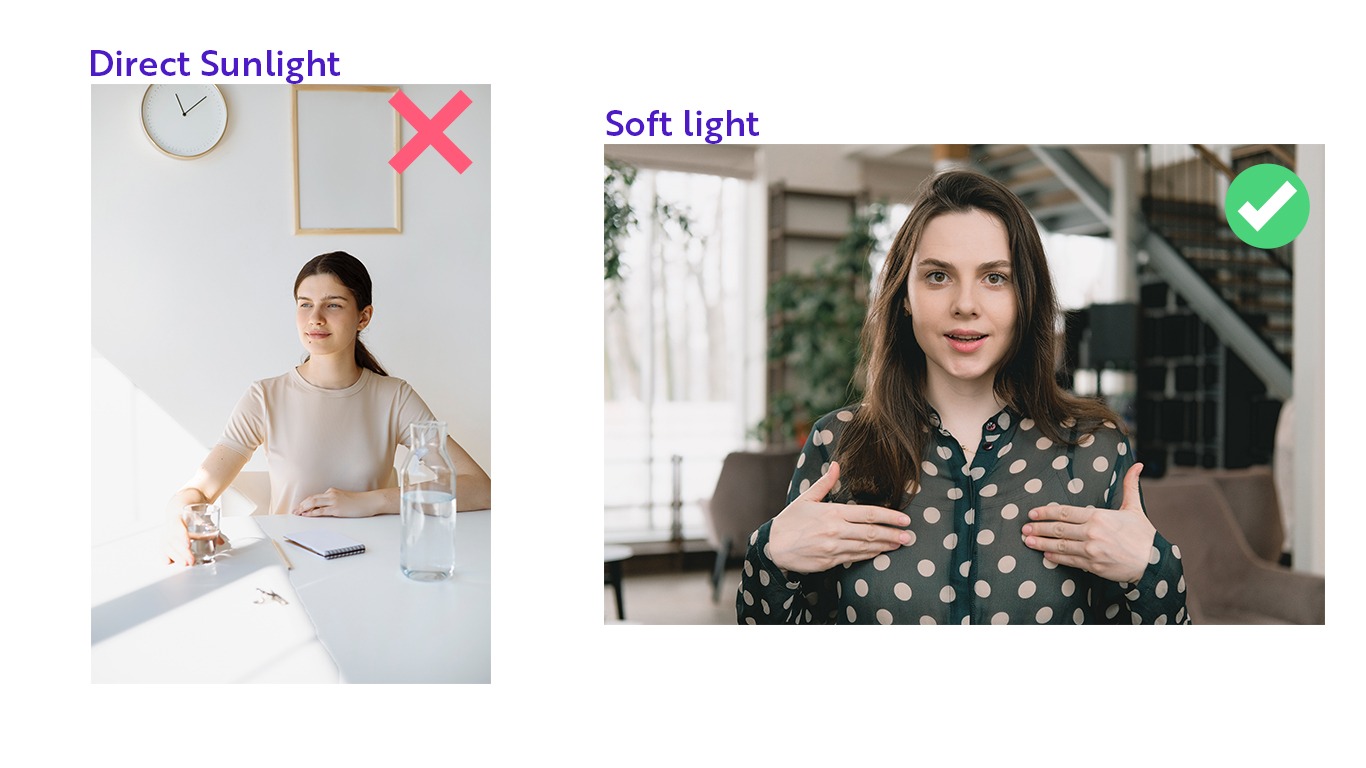
Use natural light! Often times, the sun is all you need to get an amazing lighting in your video. Find a room in your house that has a good amount of natural light and use it to your advantage. Be careful though, you don’t want direct sunlight into your scene, as it will cast shadows, instead, you need a “soft” and evenly distributed light across all your composition.

Tip: In case you’re having problems with direct sunlight, you can use a curtain, or a white sheet to cover the window where the light is coming from, and this will act as a “Diffuser”, spreading and softening the light. Cloudy days have this exact same effect, as the clouds acts as a natural diffuser when passing in front of the sun.
In case you can’t use natural light, or the amount of natural light you have is very little, you should use an external light source, as a soft box, ring-light or LED panel.
Once you have the light source ready, you have two options to position yourself or the product:
-
Front Light - Stand in front of the light source, facing it directly. This way, the light will be evenly distributed on your face / product.
-
Side Light - Stand by the side of the light source. This will create a stronger contrast on your face / product, be careful when using it. To avoid it, you can place a white board or a reflector in front of you, so it will reflect the light into the darker side of your composition.
Tip: It’s important to lit your background as well, but you should never have a strong light source behind you, as it will cast huge shadows across the entire scene.
🎶 Audio
Your audio is just as important as your video, and it has the power to turn good content into amazing content.
Whenever possible, use a microphone to capture your audio. A lavaliere microphone is a great starting option, as it can be cheap, portable, easy to use, and still provide good quality.
When using a microphone, remember to always talk in a comfortable and natural volume, to avoid “clipping” and “cracking” your audio. Do some testing and find what works best for you.
In case you don’t have a microphone, you can also use your phone's one, just make sure to record in a quiet space with no distracting sounds.
It doesn’t matter if you're using your phone or a professional microphone, you should always reduce all the background noise as much as possible. Ask for others in your house to be quiet while you’re recording, and turn off any electronics that generates sounds or that could create a distraction.
🟦 Background/Scenario
The scenario on your video can tell a lot about its topic and be either a complement or a distraction for it.
Think of the product you’re showcasing on the video, and try to align your background with it. For instance, is it’s a kitchen product, try filming the video on a kitchen, or having decorations that resembles a kitchen. This will involve some testing to find the best location, with the best light and space to record the videos.
Example:
However, you should always be careful not to have anything that could distract the viewer on your background, so once you grab the audience’s attention, you can keep it on you or on the product, and not on your background.
In case you can not fit the scenario with the product, always opt for a neutral one, as a wall with a solid color.
Example:
And one final tip: Don’t use Filters. 🚫
Using filters will change both the product colors and aesthetics, plus making it much more difficult to repurpose the content later on. So as a general rule, only use filters if the brand is clearly asking you to do so.
With all these tips & tricks in mind, we can move on to learn how to create a good UGC video.